Troubleshooting
Refrigerator Not Cooling? A Safe Diagnostic Checklist
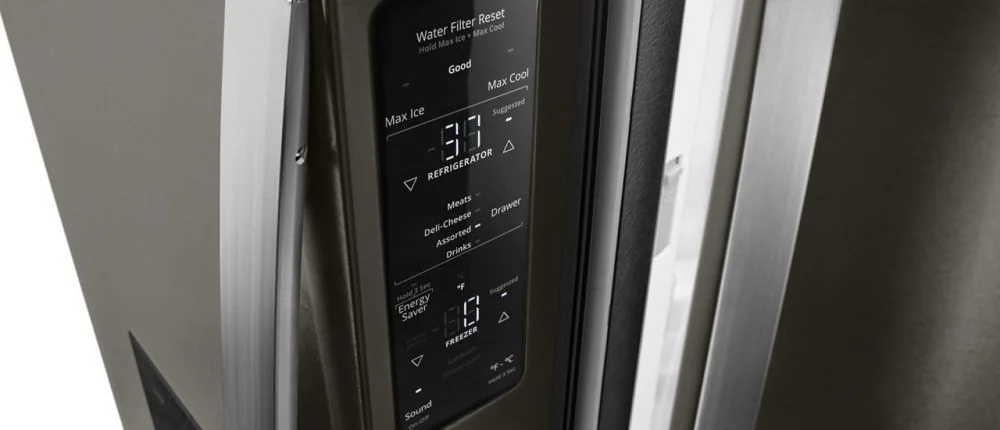
When a refrigerator feels warmer than normal, the quickest reaction is often to lower the setting or unplug the unit. Neither step explains what failed, and repeated resets can erase useful clues. A better first response is to protect the food, document the symptom, and work from the outside of the appliance inward without removing panels.
This guide is written for household refrigerators, including French-door, side-by-side, bottom-freezer, top-freezer, counter-depth, and built-in configurations. It does not replace electrical or sealed-system testing. Refrigerant work, live-voltage measurements, gas handling, and internal disassembly belong to appropriately qualified service professionals.
First, Decide Whether Food Must Be Moved
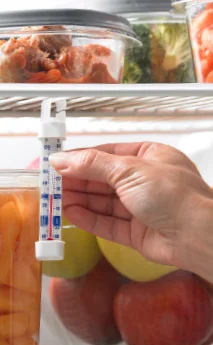
A cooling complaint is partly an appliance problem and partly a food-storage problem. Use an appliance thermometer if one is available; the display on the door may show a set point rather than the actual food temperature. Keep the doors closed while you decide what can remain safely stored.
Perishable food that has been held too warm for too long may need to be discarded under current food-safety guidance. When the temperature history is unknown, do not rely on smell or appearance alone. Move items to another working refrigerator, an adequately iced cooler, or another safe storage location. Keep a note of the measured temperature and time because that information also helps describe the appliance failure.
If there is smoke, arcing, a burning odor, exposed wiring, or water reaching an electrical connection, stop using the refrigerator and address the immediate hazard. A cooling problem by itself is not a reason to touch internal electrical components.
Confirm What “Not Cooling” Means
The phrase can describe several different conditions:
- Both the fresh-food and freezer sections are warm.
- The freezer stays cold while the refrigerator compartment warms.
- Food freezes in the refrigerator even though other areas are warm.
- Temperature rises only during hot afternoons or after heavy door use.
- The cabinet cools after a reset, then warms again.
- The display is normal, but an independent thermometer shows otherwise.
Write down which description fits. Also note whether the change was sudden or gradual, whether the appliance was recently moved, and whether a power outage or home electrical work occurred. A precise timeline is more valuable than naming a suspected part.
Check Settings Without Repeatedly Changing Them
Review the refrigerator and freezer set points, cooling-off or showroom modes, vacation settings, and any door-open alarm. Controls can be bumped during cleaning or loading. If the manual describes a simple user setting that is clearly wrong, correct it once and give the appliance time to respond.
Avoid pushing every button, repeatedly cycling the breaker, or changing several variables at once. Those actions make it harder to know what affected the symptom. Photograph the original display and any code before making a permitted adjustment.
Look for a Door-Sealing Problem
Warm room air entering through a poor seal adds moisture and increases the cooling load. Check for packages, shelves, or bins that prevent full closure. Look along the visible gasket for food residue, a folded section, tears, or a gap. On French-door models, make sure the center flap moves into position.
A simple visual inspection is enough. Do not adjust a heavy built-in door or loosen hinges without the proper support and service information. Door alignment can involve panels, cabinetry, and hinge tension. If condensation or frost is concentrated near one edge, photograph that pattern because it may show where air is entering.
Check Interior Airflow
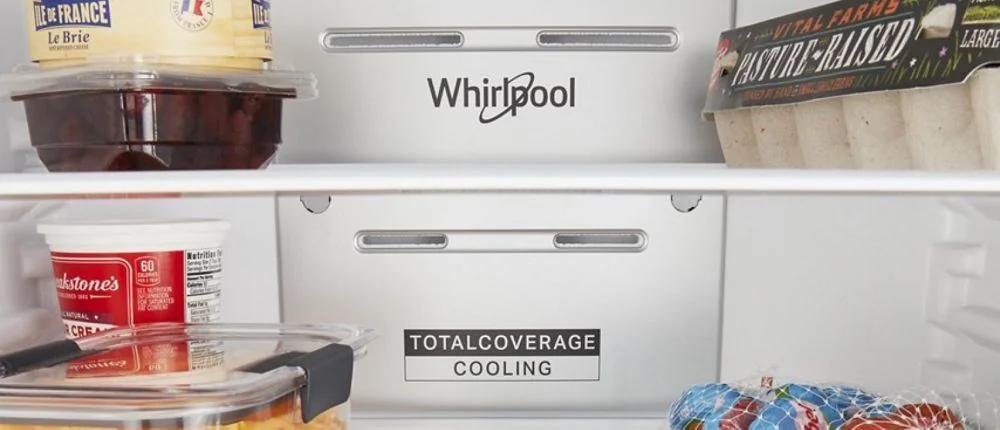
Cold air must move through designed vents. A fully packed compartment, a container pressed against an outlet, or ice covering an air channel can create a warm zone even if another section remains cold. Rearrange items so the visible vents are open and avoid placing warm food directly against temperature sensors.
Do not pry at an iced vent or apply a heat gun, hair dryer, knife, or boiling water. Refrigerator liners and hidden wiring can be damaged, and rapid heating can crack plastic or glass. A heavy frost pattern on the rear freezer panel is a useful diagnostic clue and should be photographed before it changes.
Listen, but Do Not Open the Cabinet
With the doors closed, note whether you hear a compressor, internal fan, or periodic clicking. Some modern refrigerators vary their speed and may be quiet for long periods, so silence alone does not identify a failed part. Compare the current sound with normal operation and record any new rattle, squeal, buzz, or repeated start-stop sequence.
If an internal fan stops when the door opens, do not defeat the door switch with tools or fingers. A technician can test fan command and operation safely. Similarly, a warm compressor shell does not prove that the compressor is defective; it may be responding to another fault or operating condition.
Inspect Accessible Ventilation Areas
Many refrigerators reject heat through a condenser and require airflow around a lower grille, rear section, top compartment, or built-in ventilation path. Check that household items, dust mats, or recent cabinetry work have not blocked the visible openings. Follow the owner’s manual for any user-approved cleaning procedure.
Do not pull out a heavy or panel-ready refrigerator just to look behind it. Water lines, electrical cords, anti-tip hardware, finished floors, and cabinetry can be damaged. For built-in units, a wide photo of the installation and grille area can help the service provider plan access.
Read Frost, Water, and Condensation as Clues
The location of moisture matters. A sheet of frost on an interior panel suggests a different path from droplets around a door edge, water below the front, or ice concentrated around a fill tube. Note the exact location before wiping it away to protect the floor.
Water under a refrigerator can come from the appliance, the ice-maker supply, a filter connection, a drain, condensation, or a nearby source. If water is actively flowing, close the appliance water valve when it is clearly identified and safe to reach. Do not handle a plug, outlet, or switch while standing on a wet floor.
Why the Freezer Can Be Cold While the Refrigerator Is Warm
In many designs, cooling is produced near the freezer and distributed to the fresh-food section by controlled airflow. A blocked passage, stalled fan, iced evaporator area, sensor problem, or damper issue can leave frozen food hard while milk and produce warm. Other designs use separate cooling systems, so the same symptom does not always have the same cause.
This is why a model number matters. It connects the visible symptom with the actual airflow and control layout. Advice written for one platform can be wrong for another appliance that looks nearly identical from the front.
Why Both Compartments May Warm
When both sections lose temperature, possible categories include a power or control problem, loss of condenser airflow, failed fan operation, severe frost accumulation, a start problem, or a sealed refrigeration fault. Installation heat and ventilation can also matter, especially in a tight enclosure or during unusually warm weather.
These categories cannot be separated reliably by replacing a thermostat or control based only on a web search. Diagnosis may require temperature measurements over time, electrical testing, inspection of airflow and frost pattern, and evaluation of the refrigerant system.
Information to Collect Before Scheduling Service
Use our refrigerator temperature-zone record for guidance on measurement locations and a downloadable blank log. It helps keep control settings, thermometer readings, and the location of each observation separate.
Prepare the following:
- Brand and complete model number from the rating plate.
- Actual refrigerator and freezer temperatures, plus the time measured.
- Which compartment changed first and whether the condition is constant.
- Photos of the display, frost, condensation, or leak location.
- New sounds, odors, breaker activity, or error messages.
- Recent filter changes, moves, power events, plumbing work, or cabinet changes.
- Whether the doors close evenly and visible vents are unobstructed.
Model tags are often inside the fresh-food compartment, near a drawer, on a side wall, or around the cabinet frame. Use the owner’s documentation if the tag cannot be found safely; do not disassemble trim merely to reach it.
Questions to Ask After Diagnosis
Ask which test confirmed the failure, whether the proposal addresses the underlying cause, what parts and labor are included, and what happens if another problem appears during the repair. For a built-in refrigerator, also discuss panel protection, access, ventilation, and whether moving the unit is part of the quoted scope.
Compare repair with replacement using more than the appliance’s age. Consider cabinet condition, prior failures, parts support, installation labor, matching panels, plumbing, electrical work, delivery access, and the cost of changing adjacent millwork. A sound diagnosis supplies the facts needed for that decision.
Requesting Refrigerator Repair in Los Angeles
LA Appliance Repair Pros is an independent multi-brand service business. The site accepts refrigerator repair requests for the listed Los Angeles service area, subject to model and scheduling confirmation. Call +1 818 308 3343 or use the booking form with the model number, temperatures, symptom timeline, and any photos you collected safely.