Planning
Before an Appliance Repair Visit: Los Angeles Homeowner Checklist
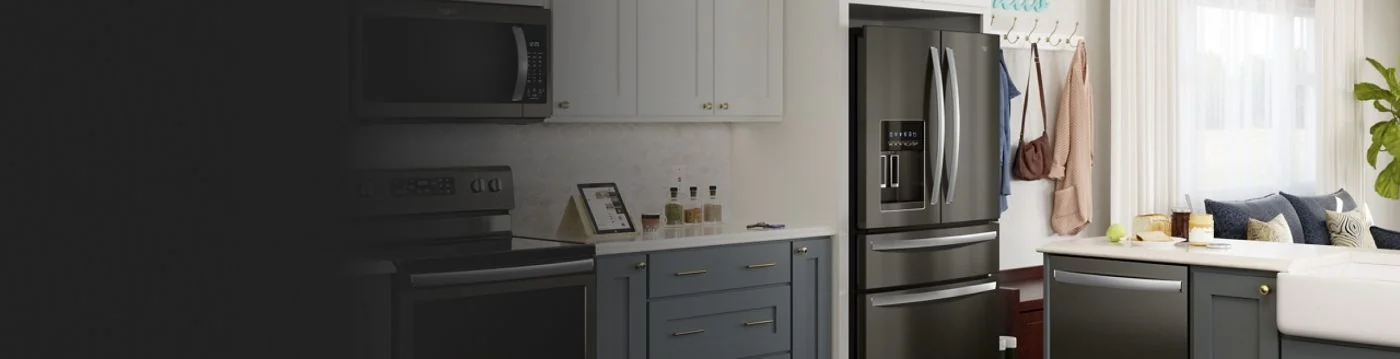
A well-prepared appliance repair request begins before the appointment window. The most useful preparation is not taking the machine apart or buying a part in advance. It is preserving the symptom, identifying the exact appliance, making the work area accessible, and knowing which questions must be answered before work is approved.
This checklist applies to residential and light-commercial requests for refrigeration, cooking, dishwashing, laundry, wine storage, ventilation, ice-making, and related equipment. Skip any step that would require moving a heavy appliance, opening a panel, touching wet electrical equipment, or entering an unsafe area.
1. Address Immediate Safety or Property Risk
Describe ordinary performance problems to the repair company, but treat emergencies differently. If you smell gas or a carbon-monoxide alarm activates, leave the area and contact the gas utility or emergency services from a safe location. Do not operate switches, create a flame, or keep testing the appliance.
For smoke, active fire, or visible arcing, call emergency services as appropriate. For an uncontrolled water leak, close the appliance supply valve only if it is clearly identified and safely reachable. Avoid electrical panels, cords, plugs, and outlets while standing in water.
Food-storage and commercial-temperature failures may require moving products and following applicable food-safety procedures. Protect people and property first; an error code is never more important than safety.
2. Identify the Exact Appliance
The brand on the door is only the first piece of information. Manufacturers often produce multiple platforms that share a similar appearance but use different controls, heating systems, pumps, valves, sensors, and service parts. The complete model number—and sometimes the serial number or product number—narrows the technical information to the correct appliance.
Take a clear photo of the entire rating label. Common label locations include:
- Refrigerator: interior side wall, ceiling, drawer area, or cabinet frame.
- Dishwasher: along the tub or door edge.
- Range and oven: around the door frame, storage drawer area, side trim, or beneath a removable surface section described in the manual.
- Washer and dryer: door opening, lid area, rear panel, or control-console edge.
- Microwave: door opening, rear label, or installation documentation for a built-in unit.
- Wine equipment and ice machines: interior wall, rear panel, grille area, or documentation packet.
Do not pull out a built-in or stacked appliance merely to find the tag. Provide any purchase record or manual number you have, plus a photo of the installation, and explain that the label is not safely accessible.
3. Write a Symptom Timeline
“Broken” does not give the diagnostic visit a starting point. A short timeline does. Record what the appliance was asked to do, what happened instead, and when the behavior changed. Note whether the fault is constant, intermittent, load-dependent, or limited to one cycle, burner, temperature zone, or control setting.
Useful observations include:
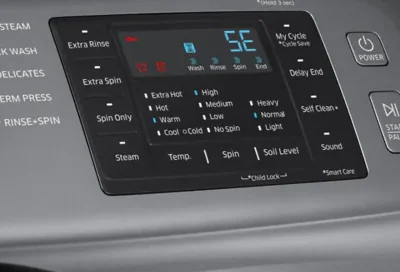
- The exact words, symbols, or code shown on the display.
- New sounds and the point in the cycle when they occur.
- Where a leak, frost pattern, odor, or unusual heat appears.
- Whether a breaker trips immediately or after running.
- Which functions still work normally.
- Any recent power outage, plumbing work, gas interruption, move, installation change, cleaning, or filter replacement.
Avoid diagnosing the part in your request unless a prior technician has documented it. Saying “the washer stops with water in the drum during the drain stage” is more useful than saying “it needs a pump.”
4. Preserve Intermittent Evidence
An intermittent appliance may behave normally during the visit. Photograph the display and take a short video that includes sound, but only from a safe position. Keep the recording focused on the symptom and avoid filming private information in the surrounding room.
Do not repeatedly reset the breaker or clear the control until you have captured the original state. If a reset is recommended by the owner’s manual and there is no hazard, record what changes afterward. Note the time between a reset and the next failure.
For temperature problems, use an independent thermometer when appropriate and record time-stamped readings. For a leak, photograph the first visible moisture path before drying the area. These clues can help distinguish a repeating operating fault from an isolated event.
5. Make the Work Area Accessible
Remove fragile, personal, or valuable items around the appliance. Clear countertops near cooking equipment, take laundry off machines, empty the immediate cabinet under a sink if dishwasher plumbing may be involved, and provide enough floor space for tools and protective materials.
Secure pets in another room. Explain gate codes, parking limits, stairs, elevators, loading docks, building check-in, or homeowner-association requirements during scheduling. For a commercial request, identify the onsite contact who can authorize access and discuss operating conditions.
Do not disconnect a gas line, unstack laundry, remove a wall oven, or pull a built-in refrigerator from its enclosure. Those tasks may require planning, additional labor, and protection for floors, panels, and cabinetry.
6. Share Installation Details
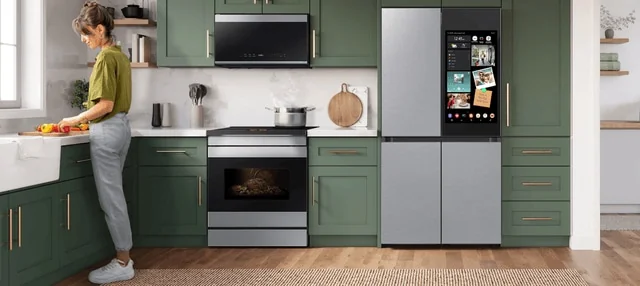
Two appliances with the same model can require different access. Tell the scheduler whether the unit is built in, panel ready, stacked, installed below a counter, mounted over a range, located outdoors, or surrounded by custom stone or cabinetry. A wide photo can show these conditions more clearly than a description.
Mention narrow hallways, stairs, delicate floors, unusual shutoff locations, hardwired connections, shared vents, or equipment installed above shoulder height. This is not cosmetic information; it can affect tools, time, safety, and whether another trade or helper is needed.
7. Avoid Pre-Visit Actions That Hide the Problem
Cleaning accessible user-service areas is reasonable when the manual instructs it, but major disassembly can create new faults. Leave internal panels, sealed refrigeration tubing, gas valves, high-voltage microwave covers, and safety switches alone.
Do not order a component from an error code alone. Codes describe conditions detected by the control, and the failed part may be elsewhere in the system. Installing an unverified part can add cost, damage connectors, complicate diagnosis, and affect the ability to return the component.
If another service company has already worked on the appliance, gather its invoice, diagnosis, installed-part information, and any warranty terms. Tell the new provider what changed after that visit.
8. Confirm the Business Details Before the Appointment
Ask the company to confirm the service address, appliance category, brand or model coverage, appointment window, current diagnostic charge, accepted payment methods, and cancellation policy. If the website lists offers or fees, confirm that they apply to your specific request rather than assuming every repair qualifies.
Also ask whether the diagnostic amount is separate from repair labor, whether it may be credited toward approved work, and what travel or access charges could apply. The answers should be clear before the visit begins.
9. Know Who Can Approve Work
The adult meeting the technician should be able to explain the symptom, access the property, and approve or decline the proposed scope. For rentals, property managers, estates, or commercial locations, decide in advance who is authorized to make that decision and how they can be reached.
If an owner will participate remotely, establish the approval limit and preferred communication method. A technician should not be expected to begin additional work based on an unavailable third party’s assumed consent.
10. Review the Diagnosis and Written Estimate
Before authorizing a repair, ask:
- What failure was confirmed and how was it tested?
- What parts, labor, shipping, tax, refrigerant, access, or additional services are included?
- What items are excluded or could change after disassembly?
- Are parts available now, special ordered, substituted, rebuilt, or discontinued?
- What written terms apply to the installed part and labor?
- What payment is due today and what happens if repair is declined?
An estimate should let you understand the proposed result, not just the price. If replacement is being considered, include delivery, haul-away, installation, trim, cabinetry, plumbing, electrical, gas, venting, permits when applicable, and the loss of matching finishes in the comparison.
11. Prepare for Possible Follow-Up
Some repairs can be completed with commonly available components; others require a model-specific order or additional access. Do not assume a first visit guarantees completion. Ask what temporary-use guidance applies, how parts status will be communicated, and whether a return appointment is already included in the estimate.
Keep the work area available until testing is finished. After repair, request an explanation of the completed work, observe the demonstrated operation when practical, and retain invoices and written terms with the appliance records.
A Compact Booking Checklist
Before calling or submitting a form, have these items ready:
- Service address and access notes.
- Appliance type, brand, full model, and serial tag photo.
- Symptom timeline, exact codes, temperature readings, photos, or video.
- Safety concerns, leaks, odors, breaker activity, or food-storage risk.
- Installation photos for built-in, stacked, commercial, or hard-to-access equipment.
- Prior repair records and the name of the person authorized to approve work.
- Questions about fees, scope, parts, payment, and written terms.
LA Appliance Repair Pros accepts multi-brand appliance repair requests in the listed Los Angeles service area. Call +1 818 308 3343 or use the scheduling form. Appointment availability, model coverage, pricing, and repair terms are confirmed for the individual request.